Category Archives: Things to Bake
No Bake Chocolate Peanut butter Oat Bars
I agreed to make something for a student’s birthday today in my class, and I already had the bones of this recipe. It’s really quick and easy.
Ingredients:
4 sticks of butter
2 cups of brown sugar
2 squirts of honey
3 cups of rolled oats (I used Quaker Oats – available in Itaewon or some department stores)
2 cups of dark chocolate (I used a bar of dark cooking chocolate from a bakers market)
2 cups of peanut butter
Unfortunately being in Korea, I only have one heated cooking ring and one saucepan to work from, so I split the butter, sugar and oats and made it in two batches, so I could melt the chocolate in the middle. I’ll assume more people have more than one and will write the instructions that way.
1. Melt the butter in a saucepan on a low heat until it’s fully melted then whisk in the brown sugar and honey on a medium heat.
2. Using a separate saucepan, melt the peanut butter and chocolate in a bowl of near boiling water in the saucepan.
3. While the chocolate and peanut butter are melting, add the oats to the butter mixture and cook for 2-3 minutes on a medium heat until they’re fully coated and slightly softened.
4. Press half of the oat mixture into a tin (I had to use two square pans but it also fills a regular deep baking tray).
5. Pour over and evenly spread the melted chocolate and peanut butter, leaving a couple of tablespoons left in the bowl.
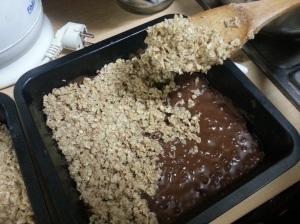
6. Gently crumble a second layer of the oats over the chocolate layer so as not to disturb the melted chocolate underneath. (I put a lump of sticky oats onto the wooden spoon and used my hand to sprinkle it evenly). This gives it a sandwich effect when sliced.
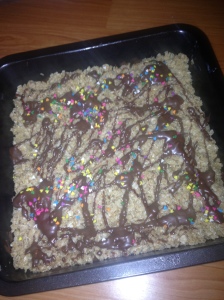
7. Koreans seem to love cutesy decoration so I splashed the remaining chocolate over the top and threw on some sprinkles from Artbox. (Personally I prefer them looking more natural for these particular bars)
Oreo & Lime Cheesecake
On Saturday we were invited to a friends’ apartment for dinner. As this was our first invitation for dinner in Korea, I wanted to make something for dessert as opposed to grabbing something on the way. I did a lot of baking at home and with no oven here, I’ve missed it a lot.
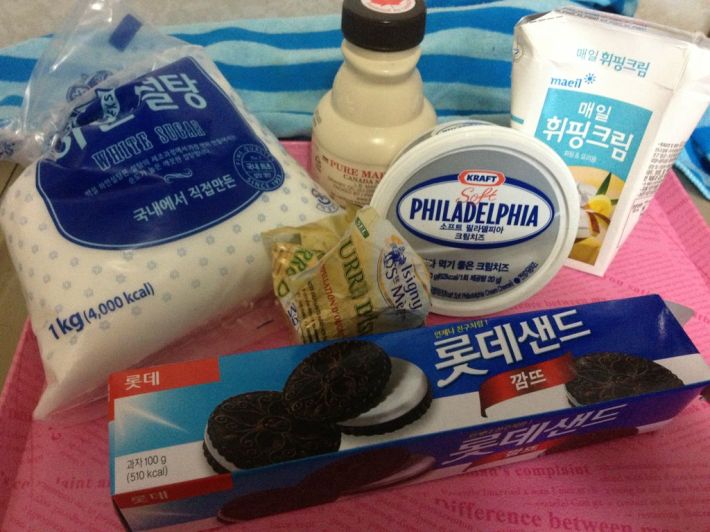
I had to find something I could make that required no baking or cooking. I was originally planning to make Banoffee Cheesecake but I couldn’t find a can of caramel anywhere in my town, so I settled for Oreo Lime Cheesecake. I hadn’t made it before. I had to go to about 6 stores locate the ingredients. Until I find a suitable cream cheese here, I had to use pricey imported Philadelphia. I also couldn’t find the limes… but luckily, our friend had a few at her place we added after!
- 2 x 200g Philadelphia
- 3 x Packs of Korean Oreos (way cheaper here)
- 3/4 cup of sugar (tasting as you add it)
- 2 oz butter approx
- 5 tablespoons of Maple Syrup
- 1/2 pint of cream (again to taste)
- A couple of generous squirts of honey.
- 1-2 limes (to taste)
Serves: 4-6
Method:
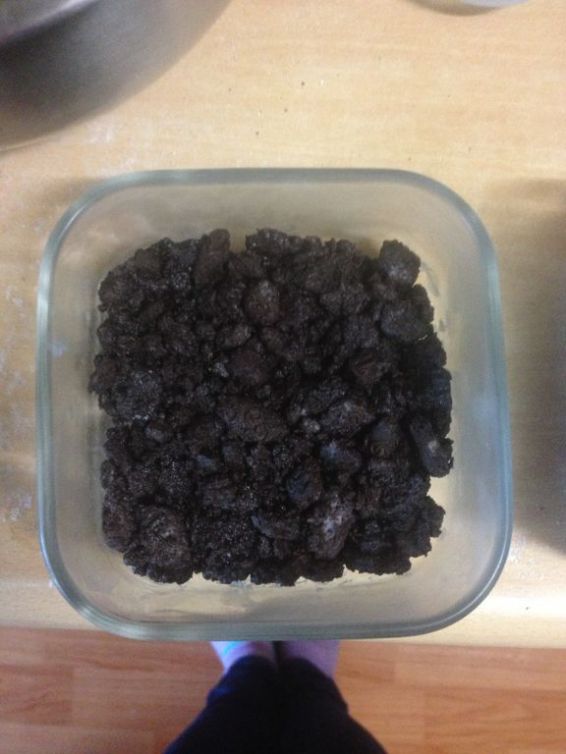
1. Set 2 Oreos aside and put the rest into a bowl and bash them up so they’re well broken down but not to dust. Take out a tablespoon of the broken biscuit and set aside.
2. Melt the butter in a pan and add the Oreos once melted, turning off the heat at that point.
3. Add a few squirts of honey (again to taste)
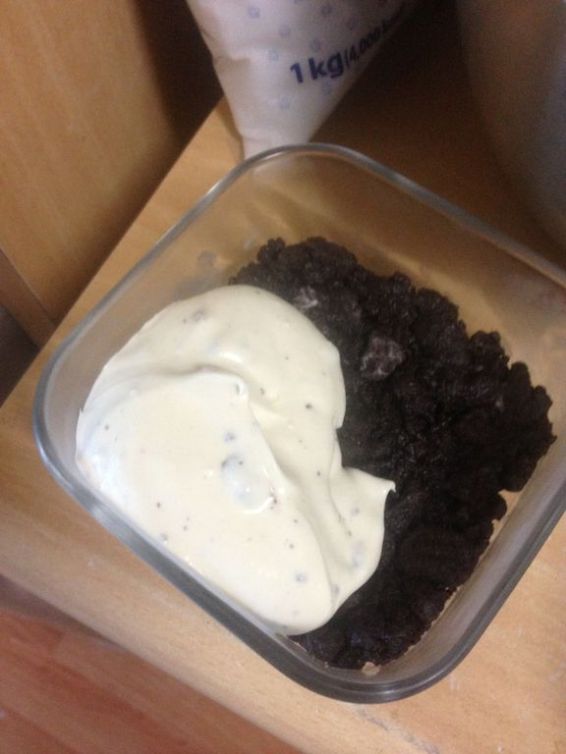
4. I divided the mixture up into containers for transport and made them generous portions (this should really serve 6 people but I divided it into 4). Using (clean) hands, press the mixture firmly into the bases of the containers, trying to keep it as level as possible. Put them in the freezer for the next few steps.
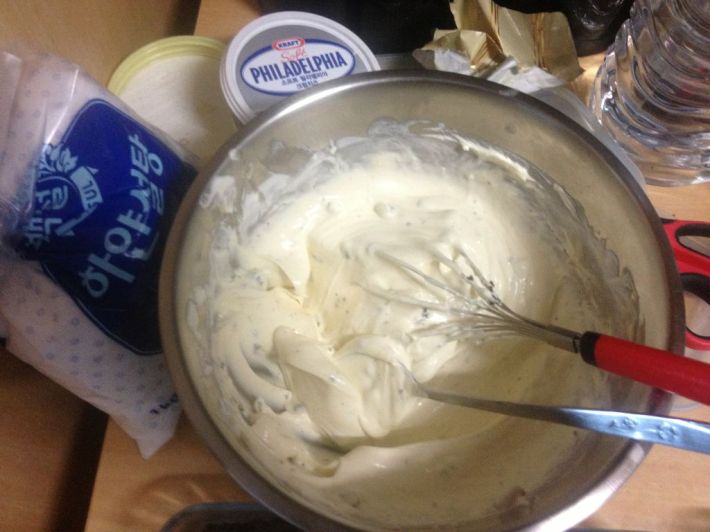
 5. Whisk up the cream, and the Philadelphia separately. Stir the sugar into the cream, then fold the cream into the Philadelphia.(You can always add more sugar after if you don’t find it sweet enough).
6. Add your maple syrup to taste. Squeeze in the juice of 1 lime or 2 depending how much you like it. Stir in the remaining broken biscuit you set aside earlier to give it some texture.
7. Gently tip the mixture over the broken biscuits which should be nicely chilled by now.
8. Try and use all the mixture and fill up the container(s) generously.
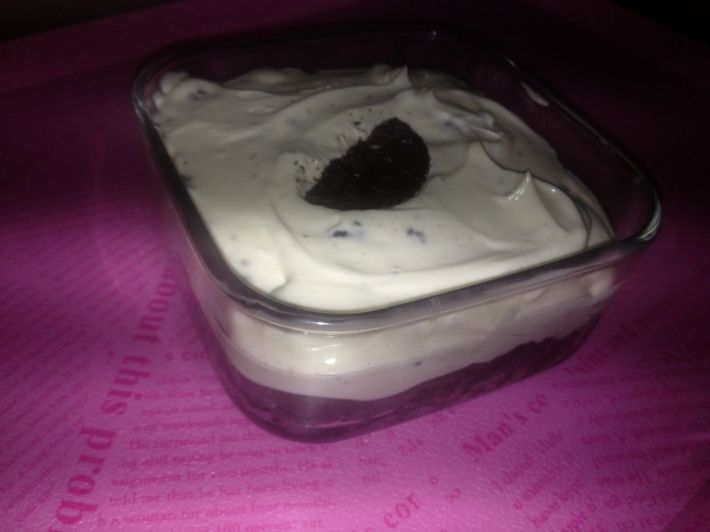 9. Cut the two remaining Oreos in half and place them on top of your cheesecakes. You can also use slices of lime either. You can experiment depending on the dish or dishes you’re using.
10. Chill in the fridge, preferably overnight or for at least a few hours if possible.
The recipe went down really well at dinner. It’s easier as there is no baking or eggs involved.
If anyone decides to make this I’d love to hear how you get on! 🙂
